

Foot Drop Treatment Using a Resistance Band

Want a quick fix to your foot drop problem? This blog will share two techniques for helping lift your foot without using an ankle-foot orthosis (AFO). These techniques are temporary and not meant as a long-term solution but are effective if done correctly. Please consult your physician or medical professional. They might have a better solution for you, like the SaeboStep.
How to Select the Correct Length of Exercise Band
To use this technique, you will need a 6-foot length or a 12-foot length of exercise band. If you don't have exercise bands, make sure to get some online; they're very inexpensive. You can look up exercise band or TheraBand.
To determine how much exercise band you will need, you need to know if your quadriceps (thigh muscles) are strong. Usually, this is pretty noticeable when someone walks. A weak quad results in knee hyperextension, and the person has balance issues and trouble sitting and standing.
The 6-foot length of exercise band will be used if you have strong quadriceps muscles. If you have weak quads or some balance issues, you will want to get a 12-foot length of exercise band. This is longer so that you can wrap it around your thigh to help create more stability.
Finally, if your hand function is impaired, the below techniques will require a family member or caregiver for assistance.
Watch Step-by-Step Directions
How to Use the 6-Foot Length of Exercise Band
If you have stronger quadricep muscles, then grab your 6-foot piece of exercise band and have a seat.
Step 1: Prepare the exercise band.
The first thing you'll want to do is match up the insides of the exercise band. To do this, grab each end of the exercise band, and hold them equally apart and parallel to each other. If the band is twisted, make sure that it's hanging flat with the looped end resting on the floor, and both ends are the same length. This will look like an upside-down Gateway Arch of St. Louis, MO. Do this so that you can find the middle of the exercise band because that's where we're going to put our foot.
Step 2: Properly place your foot
Gently place the ball of your foot onto the middle of the exercise band.
Make sure that it is underneath the ball of your foot and not underneath your heel. If you put it underneath the middle of your foot or heel, your foot will flop around, and the exercise band will not hold your toes up. Since this is the primary symptom of foot drop, we want to hold the toes off the ground.
Step 3: Cross the exercise band over your foot
Next, crisscross the exercise band over the top of your foot, and swap which hand is holding the end of the band. Each hand should be holding the exercise band coming from the opposite side of your foot.
Step 4: Wrap the exercise band behind your calf
Give each end of the exercise band a little bit of tension, and then crisscross it behind your calf. You will swap which hand holds which end of the exercise band in this step as well.
Step 5: Secure the exercise band to your leg
The last part of this technique is to secure the exercise band to your leg. After swapping hands in the previous step, bring the ends of the exercise band back to the front of the leg and give them some tension to stretch. Wrap each end around the top of your calf one time, and tie it just below your knee cap.
DO NOT tie the exercise band too tight. This may become uncomfortable or cause irritation of the skin. Also, make sure that it does not fall into the area behind your knee when you're using this technique. Compressing the space behind your knee can cut off blood flow to the lower part of your leg. This is where the blood vessels pass, and you can cut off the circulation to your foot.
Step 6: Testing for success
There are two ways to test if this technique is working. The first test is to lift your foot off the ground. Holding onto something for stability, slowly lift the affected foot off the ground. If the technique is correctly done, the exercise band will keep your foot parallel to the ground. Hold it off the ground for 5 seconds.
The second test is to try walking. With good balance and support, take 10 steps in one direction, then turn around and take 10 steps back to where you began. Did it keep your toes from dragging on the ground while you walked? If so, you are ready to use this temporary technique. If not, look at the exercise band. Did it come undone or fall down your leg? If any of this is true, you will need to follow steps 1-6 again. Make sure to add enough tension and tie the ends securely. Now you are ready to start functional training.
This is a down and dirty technique, not meant to be used for a long time, but it will help you move around your house and start to walk and train.
How to Use the 12-Foot Length of Exercise Band
If you have weaker quad muscles, you're going to need approximately 12 feet of exercise band. This specific length is available online if you search for it. Make sure that you have enough exercise band to don't have to pull it super tight to make this technique work. Having a few extra feet of exercise band will not hinder your ability to walk with this technique.
Step 1: Prepare the exercise band.
This technique will start the same way as the last. First, match up the insides of the exercise band. To do this, grab each end of the exercise band, and hold them apart and parallel to each other. If the band is twisted, make sure that it's hanging flat with the looped end resting on the floor, and both ends are the same length. This will look like an upside-down Gateway Arch of St. Louis, MO, or like you're about to fold a bed sheet with someone else's help. Do this so that you can find the middle of the exercise band because that's where we're going to put our foot.
Step 2: Properly place your foot
Gently place the ball of your foot onto the middle of the exercise band.
Make sure that it is underneath the ball of your foot and not underneath your heel. If you put it underneath the middle of your foot or heel, your foot will flop around, and the exercise band will not hold your toes up. Since this is the primary symptom of foot drop, we want to hold the toes off the ground.
Step 3: Cross the exercise band over your foot
Next, crisscross the exercise band over the top of your foot, and swap which hand is holding the end of the band. Each hand should be holding the exercise band coming from the opposite side of your foot.
Step 4: Cross the exercise band behind your calf
Give each end of the exercise band a little bit of tension, and then crisscross it behind your calf. You will swap which hand holds which end of the exercise band in this step as well.
Step 5: Cross the exercise band over your thigh
Give each end of the exercise band a little bit of tension, and then crisscross it on the front of your thigh. Swap which hand is holding the end of the band again and place your hands next to your hip bones.
Step 6: Secure the exercise band around your waist
Lastly, wrap the exercise band around your waist, first starting behind you.
After swapping hands for the last time, bring the ends of the exercise band in front of your waist and tie them.
DO NOT tie the exercise band too tight. This can cause it to rub and irritate the skin or cut off circulation, causing abrasions or bruising. Also, make sure that it does not fall into the area behind your knee when you're using this. Compressing the space behind your knee can cut off blood flow to the lower part of your leg. This is where the blood vessels pass, and you can cut off the circulation to your foot.
Step 7: Testing for success
As for the first technique, there are two ways to test if this technique is working. The first test is to lift your foot off the ground. While standing and holding onto something for stability, slowly lift the affected foot off the ground. If the technique was performed correctly, the exercise band will keep your foot parallel to the ground. Hold it off the ground for 5 seconds.
The second test is to try walking. With good balance and support, take 10 steps in one direction, then turn around and take 10 steps back to where you began. Did it keep your toes from dragging on the ground while you walked? If so, you are ready to use this temporary technique. If not, look at the exercise band. Did it come undone or fall down your leg? If any of this is true, you will need to follow steps 1-7 again. Make sure to add enough tension and tie the ends securely. Now you are ready to start functional training.
The added support of the 12-foot technique provides support for the foot and support to the quadriceps. The crisscross over the thigh reduces the effect of knee hyperextension. Additionally, the exercise band was wrapped behind your back, which placed the band over your hip flexor muscles, providing tactile cueing for those muscles to fire correctly when walking.
Tips and Reminders For Foot Drop Treatment
#1 – Watch the video and follow along
#2 – Make sure your exercise band has good elasticity. Dry-rotted (old) band will not stretch as much and may break during application or use, causing injury.
#3 – This is a down and dirty technique and should be used for a very short amount of time.
#4 – You would benefit from having more tools at your disposal, like electrical stimulation. If you want an easy e-stim application for strengthening and neurodevelopment, check out the SaeboStim One. If you want a versatile electrical stimulation device and one that has a functional trigger for gait training, check out the SaeboStim Pro.
#5 – You need to work with a trained physical or occupational therapist to achieve the recovery level you want. They will inform you of the proper techniques, exercises, stretches, and functional training required to improve your chances of a successful recovery.
#6 - If you have a latex allergy, make sure you're using a latex-free exercise band for this technique and/or any of your other exercises.
#7 – Be safe and avoid falls.
#8 – For better balance, use another person, a countertop, a cane, a walker, etc.
Managing Foot Drop
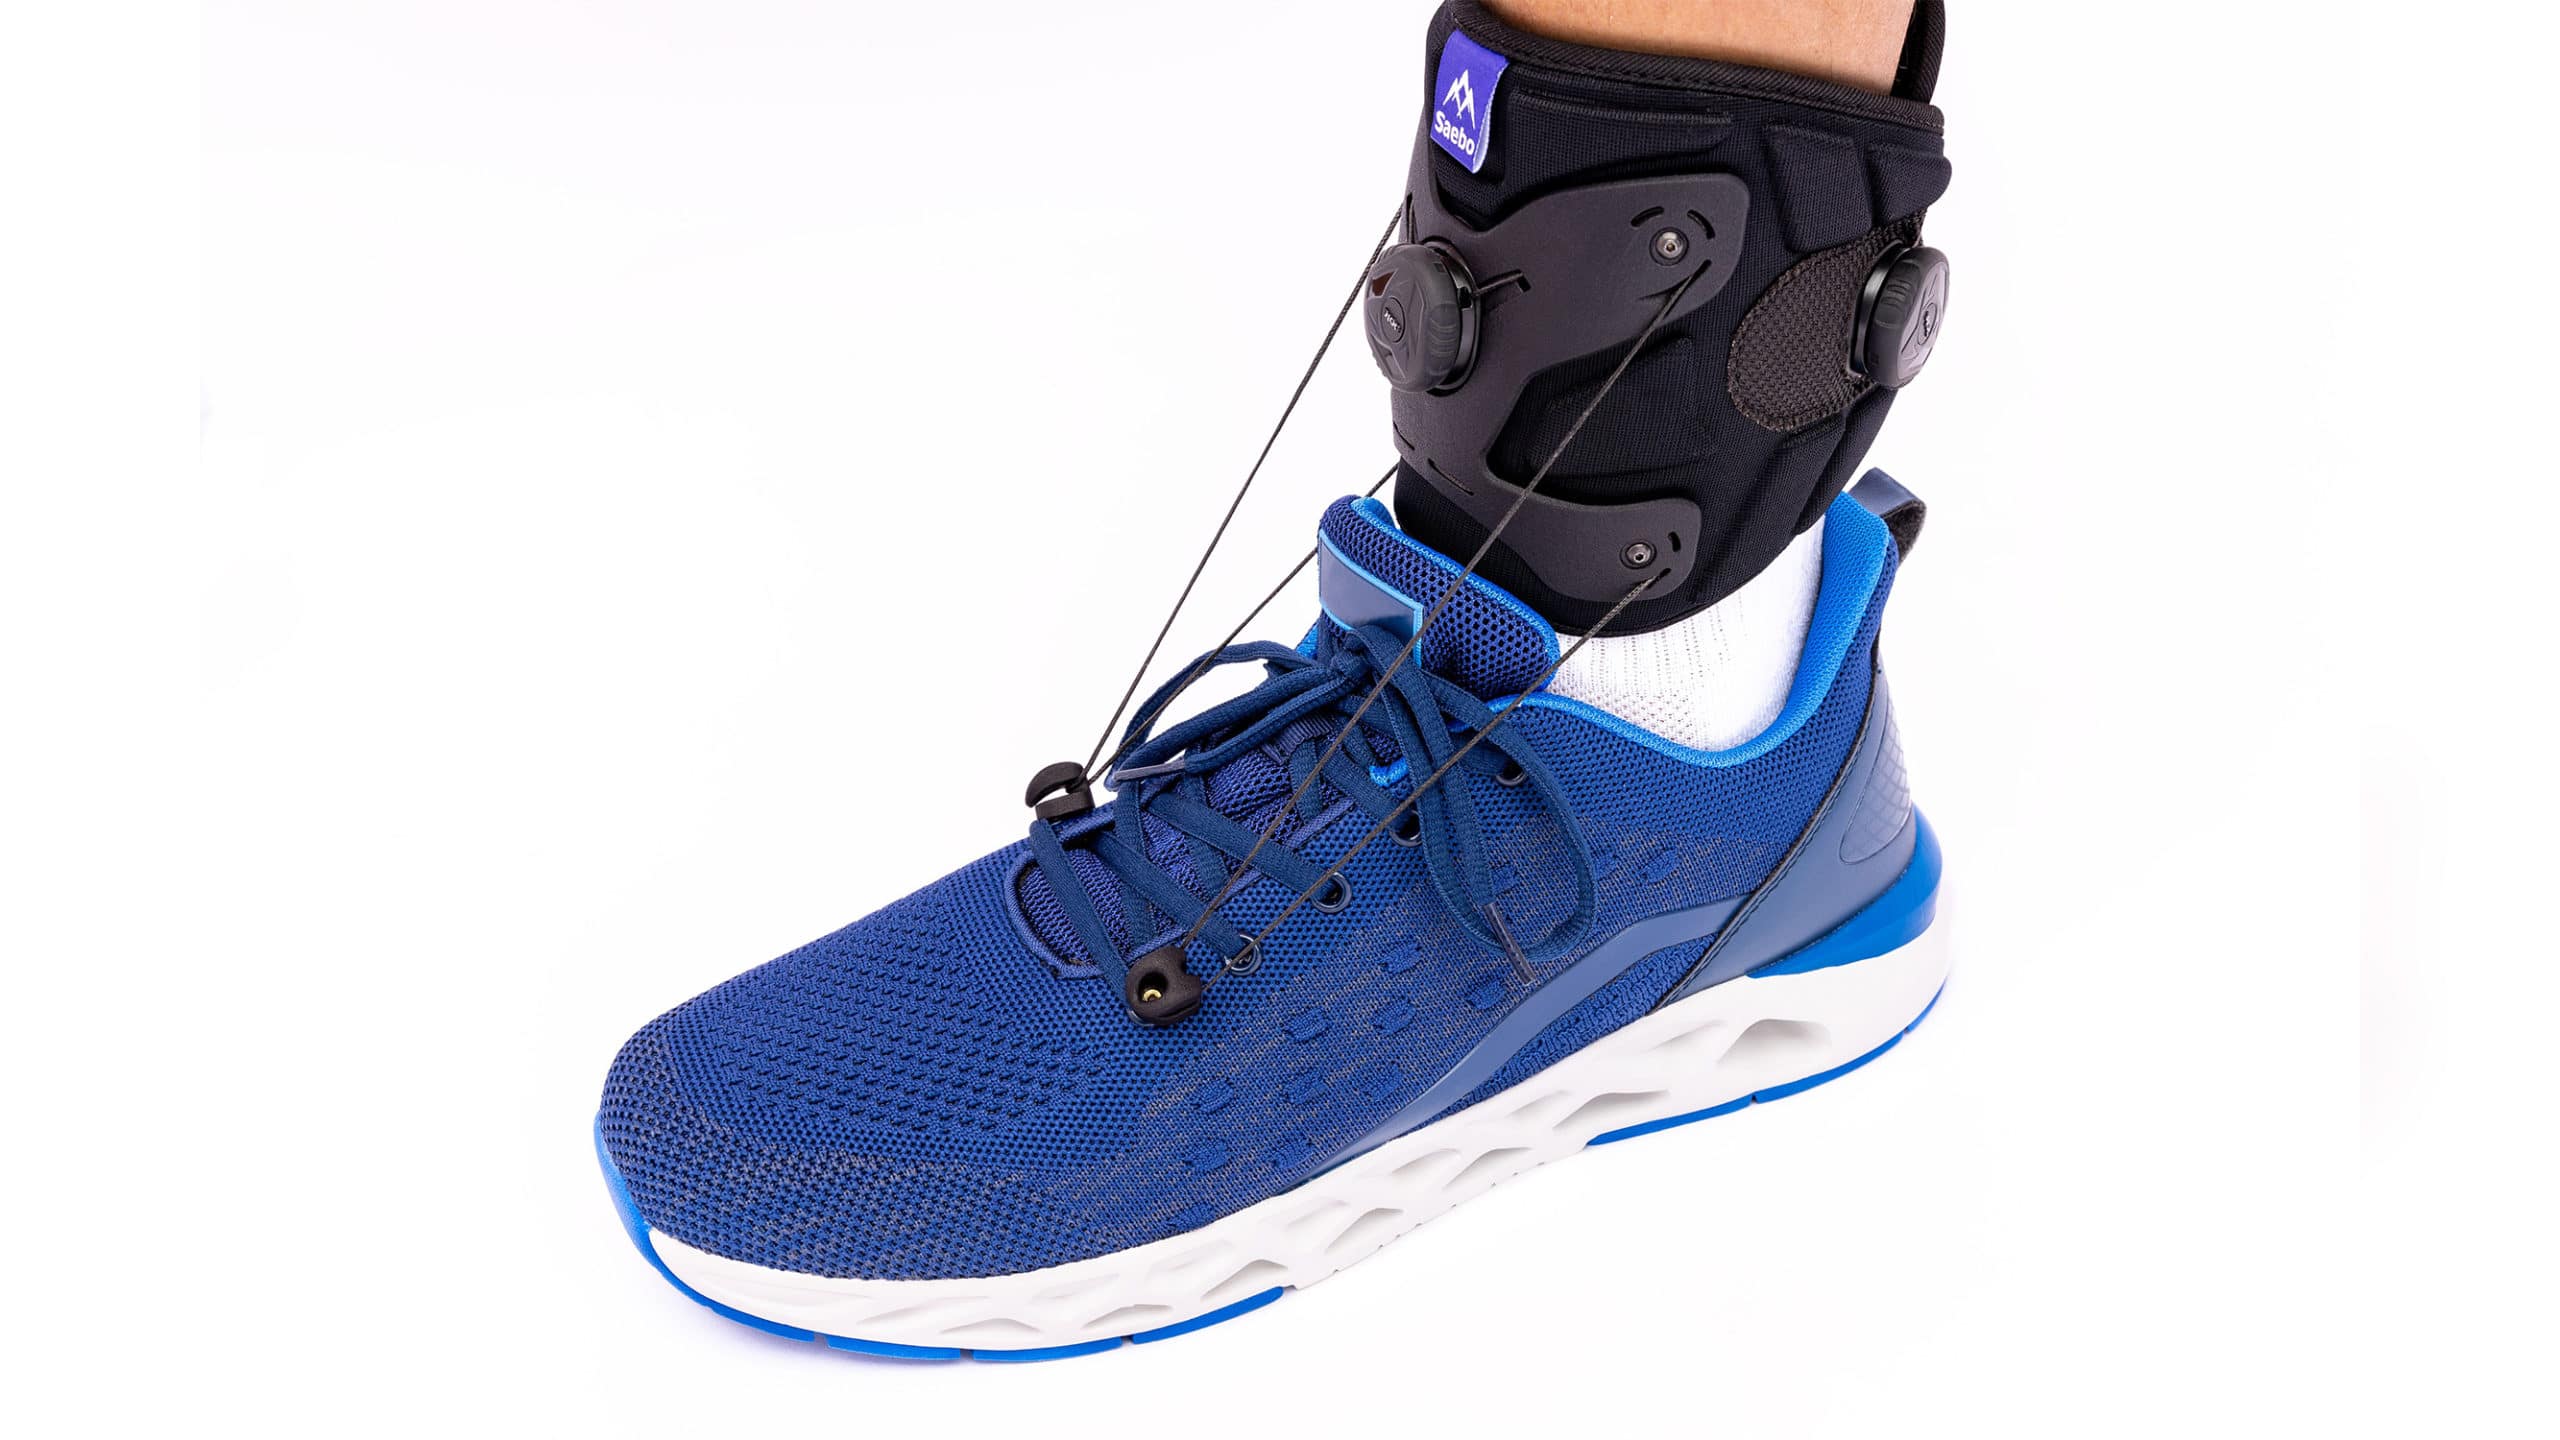
Thank you for reading this quick technique using an exercise band to help with your recovery and foot drop. Recovery depends on the cause of foot drop and how long you’ve had it. There are steps you can take to help support your foot and improve your walking ability, like wearing a brace or ankle-foot orthosis, like the SaeboStep, to support your foot in a normal position.
For more information on any of our innovative devices, please visit us at www.saebo.com or our YouTube channel. Remember, with Saebo, there is no plateau in sight.
All content provided on this blog is for informational purposes only and is not intended to be a substitute for professional medical advice, diagnosis, or treatment. Always seek the advice of your physician or other qualified health providers with any questions you may have regarding a medical condition. If you think you may have a medical emergency, call your doctor or 911 immediately. Reliance on any information provided by the Saebo website is solely at your own risk.
All content provided on this blog is for informational purposes only and is not intended to be a substitute for professional medical advice, diagnosis, or treatment. Always seek the advice of your physician or other qualified health providers with any questions you may have regarding a medical condition. If you think you may have a medical emergency, call your doctor or 911 immediately. Reliance on any information provided by the Saebo website is solely at your own risk.